
It's truly amazing how just a few well-placed highlights can completely change a clients' look. That's why it's crucial to focus on intentional placement. Here, I am going to walk you through my first essential steps to prepare for a "less is more" application. Then, I will break down the steps for the beautiful shade above.
WHAT'S FIRST?
When working with any color application, I typically start with the haircut and face frame. Depending on the cut and overall look we are going for, I need to decide where I want my color to live. To me, it's important that I do my cutting first because it prevents me from cutting into my highlights and also helps me achieve a more natural color application. Because highlighting is so light, I could risk completely cutting out all of my highlighting.
If I have someone with a square face shape that is looking to go shorter, I might choose to keep her a bit longer in the front to allow the extra length to physically frame her face and round her features a bit more. When it comes to her balayage or babylights, I might not go as heavy right at her hairline for her money piece. Instead, I might start her first highlighted section a few sections back. By doing this, I create more depth right around her face. If we took her blonde right to her front hairline, depending on the type of blonde, it may blend too much with her skin tone.
Head shape and growth pattern will also dramatically affect such delicate pieces. When possible I'll cut my clients' hair dry, especially if there are significant growth patterns that appear on the round of the head. With natural highlights, most highlighting takes place in these sections. I also know her hair will fall true to where it lives on her head day-to-day.
PLACEMENT BREAKDOWN
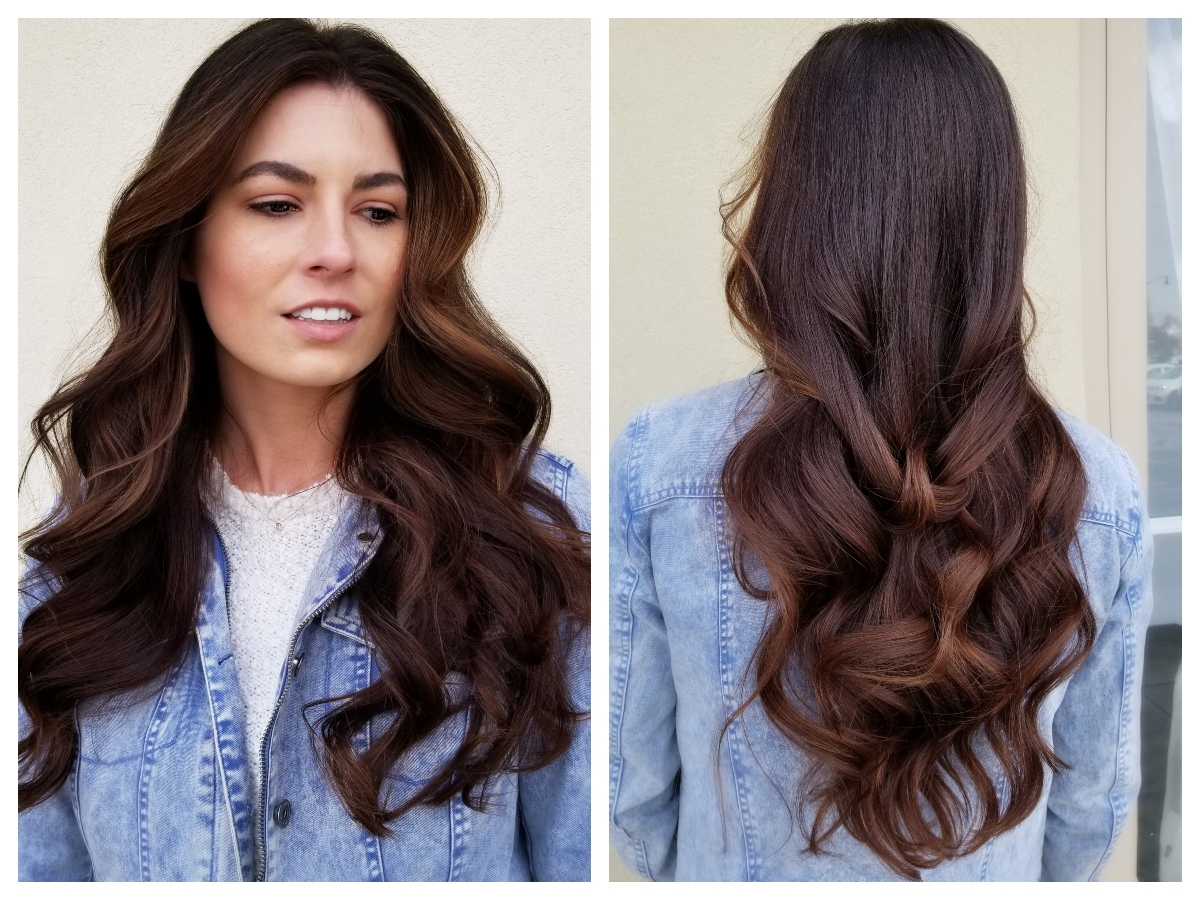
Let's break down the look above! This guest wanted to reshape her long layers. She also had a significant amount of natural highlights, which gave me the chance to create some slight dimension with her desired caramel tones. With this first application, I wanted to focus on her face framing section. She had really been missing bounce and movement around her face. After mentioning this in her consultation several times, I decided that highlighting around the face would really make an impact.
The back two quadrants required much less than the front—I just needed to add a few pops of light towards her ends. I used a gentle clay lightener with 10-volume developer to control the speed and power. Right below the occipital bone, I began by zig zagging my section. Because these sections all fell below the round of the head, I wanted to create additional depth to the section that I was highlighting. This also kept me from over applying and over saturating.
Working with her front hair line, I wanted to lighten up her face. I kept my highlight application lower towards her brow and kept most of her highlighting internal within her face framing—this means more of her natural color is seen at the surface and her highlights brighten up her face from underneath at her hairline and near her temples. When she brushes her hair away from her face, her hair explodes with movement. Over all, she maintained her beautiful brunette but gained a lived-in highlight look, too.